

- Your cart is empty Browse Shop
Behind the Scenes: How a Digital Planner or Instagram Template Comes to Life
08/05/2025
0
568
Ever wondered what really happens before you download a beautiful planner or scroll through an eye-catching Instagram template?
Truth is, what seems like a polished, ready-to-use product often goes through hours of behind-the-scenes work—so you don’t have to.
Let me walk you through the steps I usually take when creating a new design—from the initial concept to the moment it’s ready for purchase.
1. Base Design & Concept
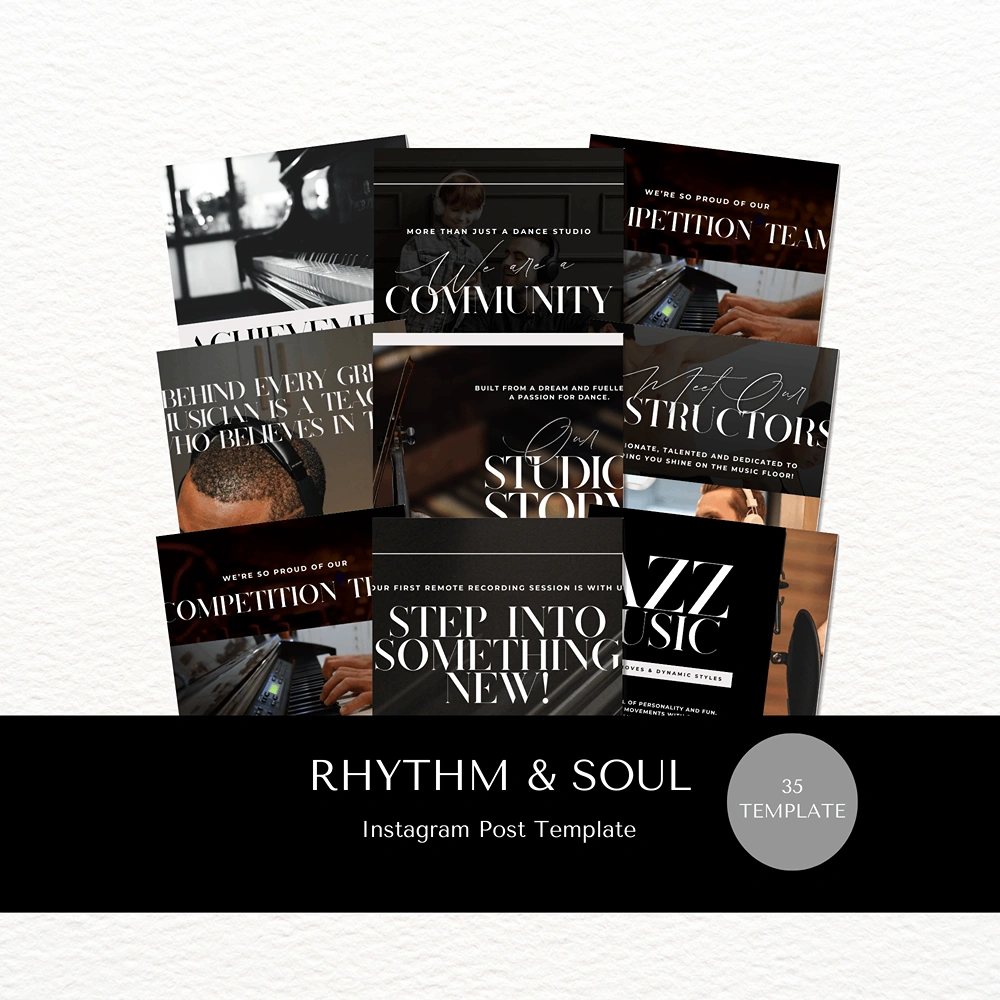
It all starts with an idea. For example, let’s say I’m creating an Instagram post template for cleaning businesses.
I start by building a consistent design base—thinking about the overall tone, layout structure, and whether I want it to feel playful, elegant, bold, or minimalist.
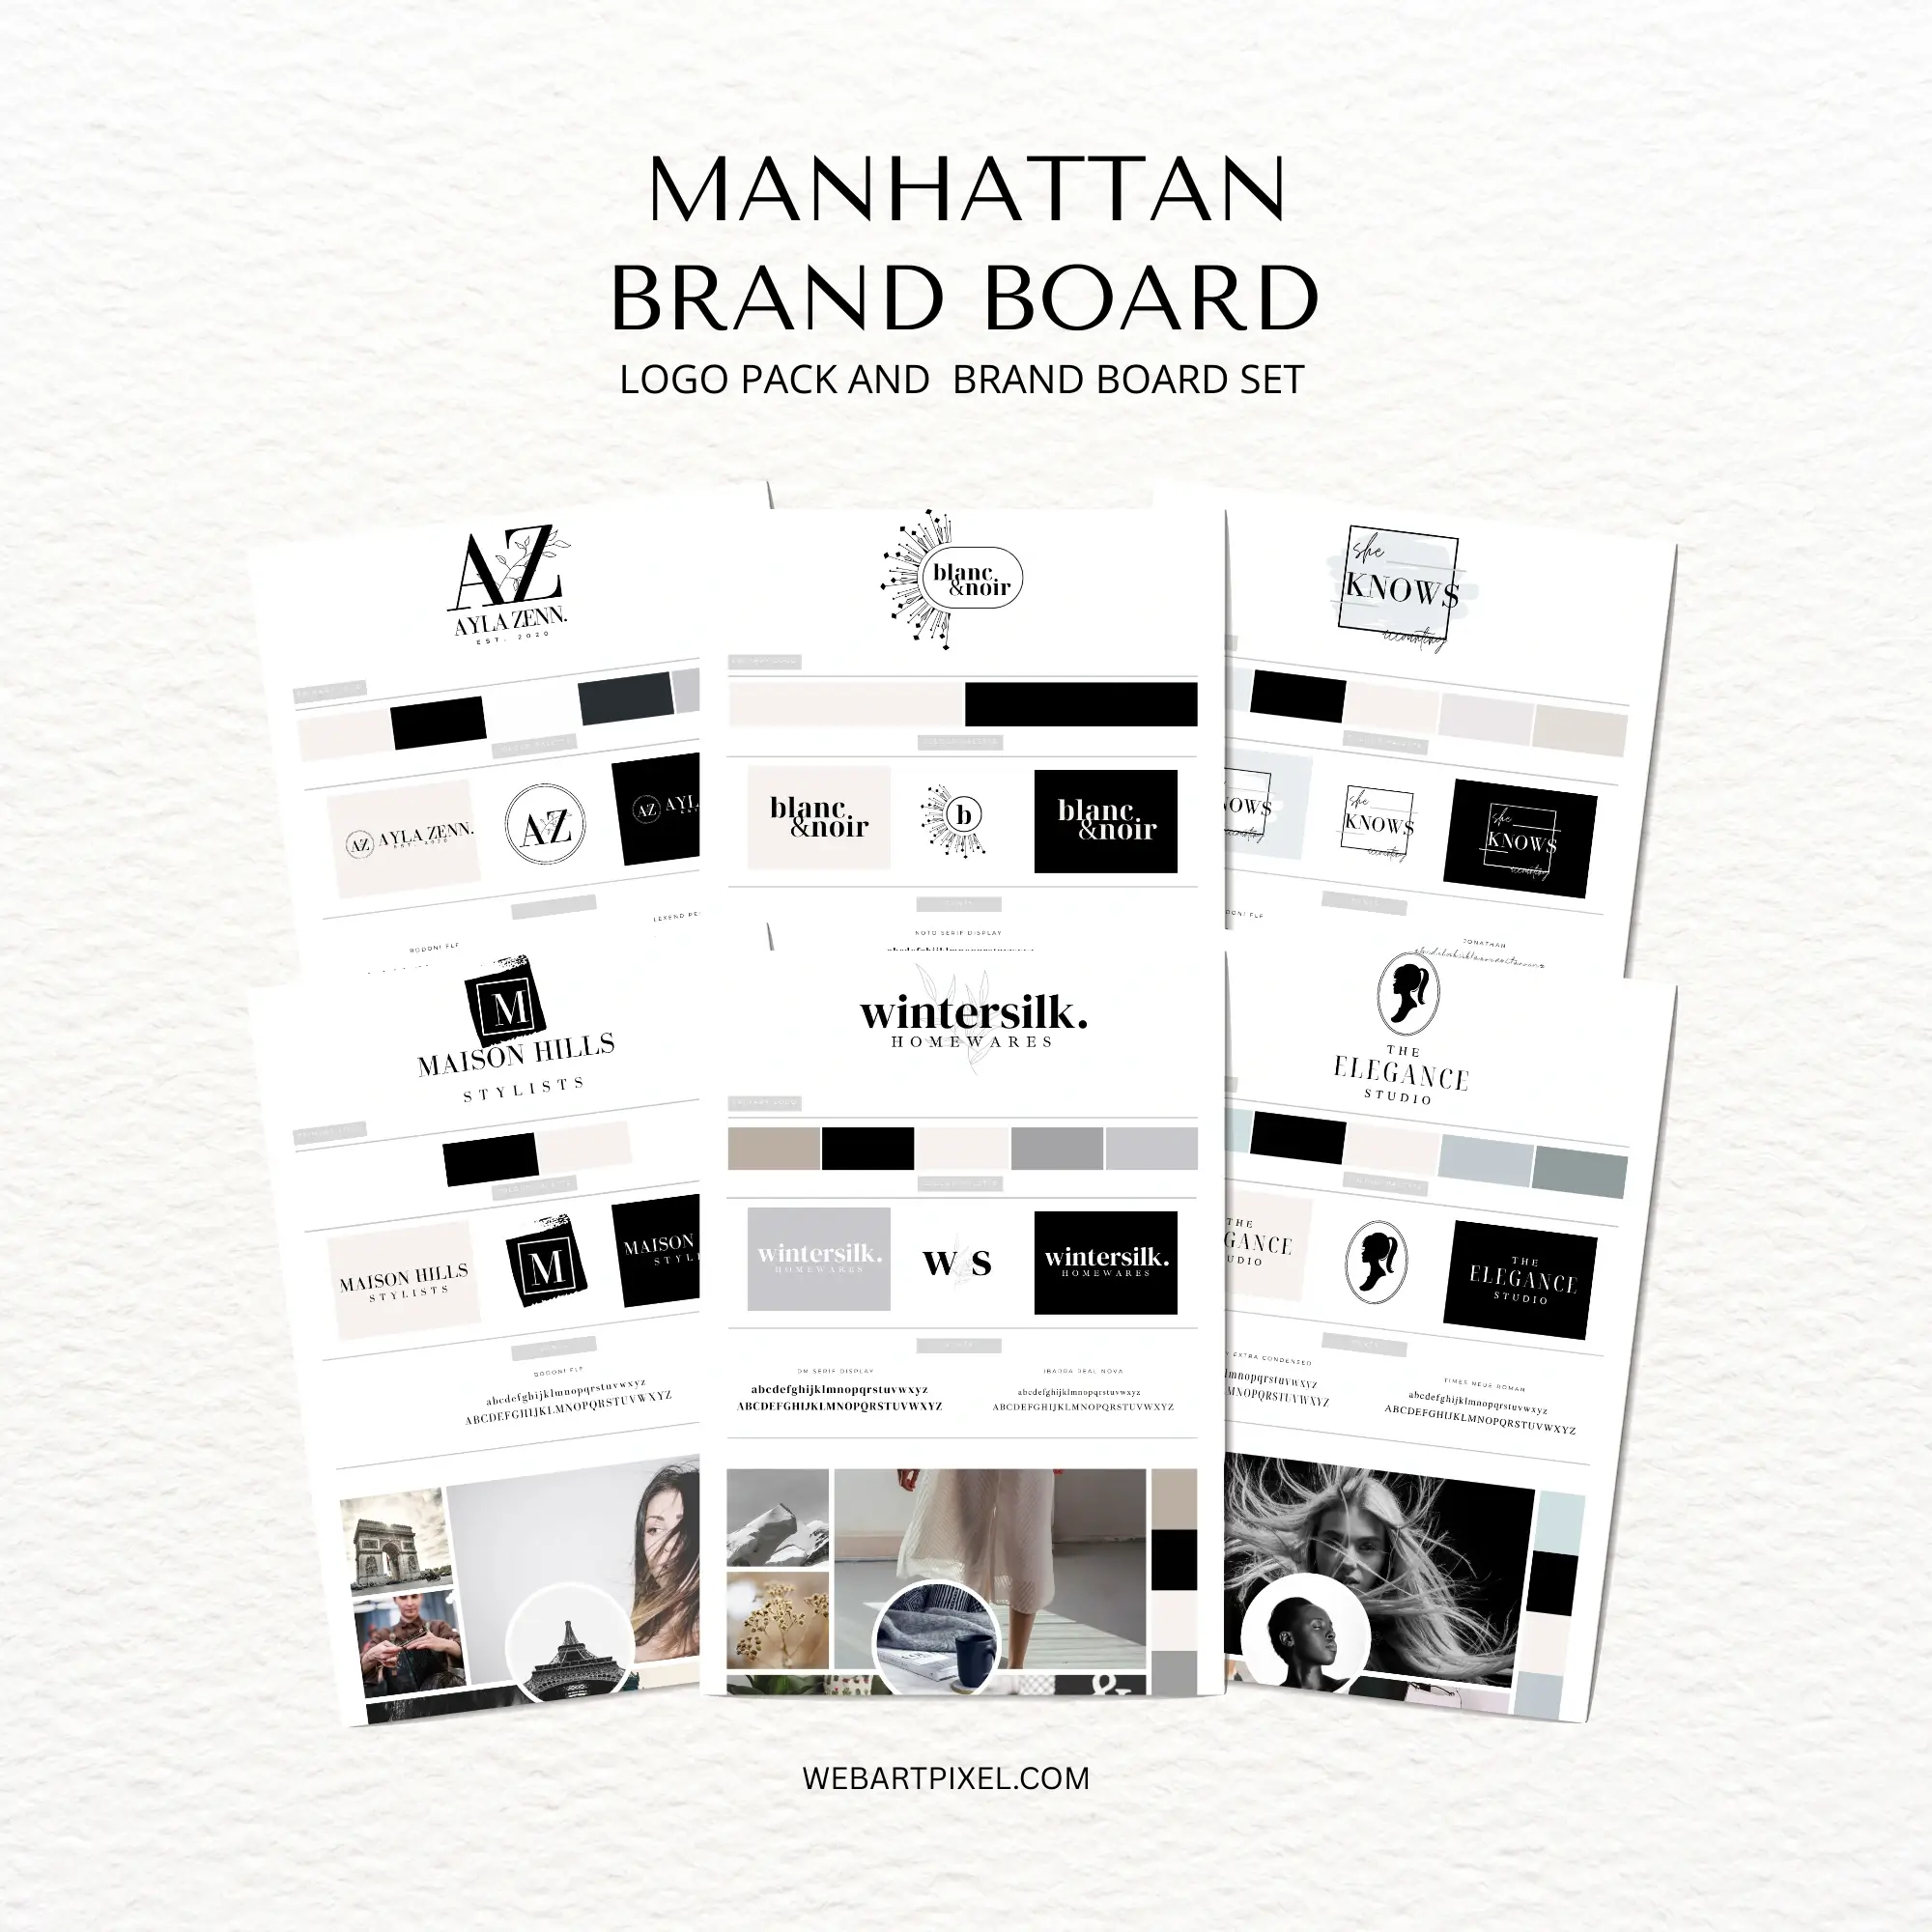
2. Choosing the Right Images & Colors
Next comes one of my favorite parts—selecting high-quality, matching images and creating a color palette that fits the vibe.
For the cleaning template, I might go for light, fresh tones with splashes of mint, white, or soft blue.
It’s not just about aesthetics—it’s about visual storytelling.
3. Layout & Text Design
Now that the look and feel are defined, I format every slide or page—placing headlines, taglines, bullet points, or tips in a visually balanced way.
I may also brainstorm and write inspirational, relatable copy that clients can use or customize.

4. Export & Setup
Once all the visuals are done, I export the files—usually in PDF or PNG format—and organize them into folders.
I create a private folder (often on Google Drive) where buyers will be able to access their downloads.
5. Thank You Template
I then create a “Thank You” page or template.
This is where the download link is placed, often with a warm message, a quick guide, or tips on how to use the product.
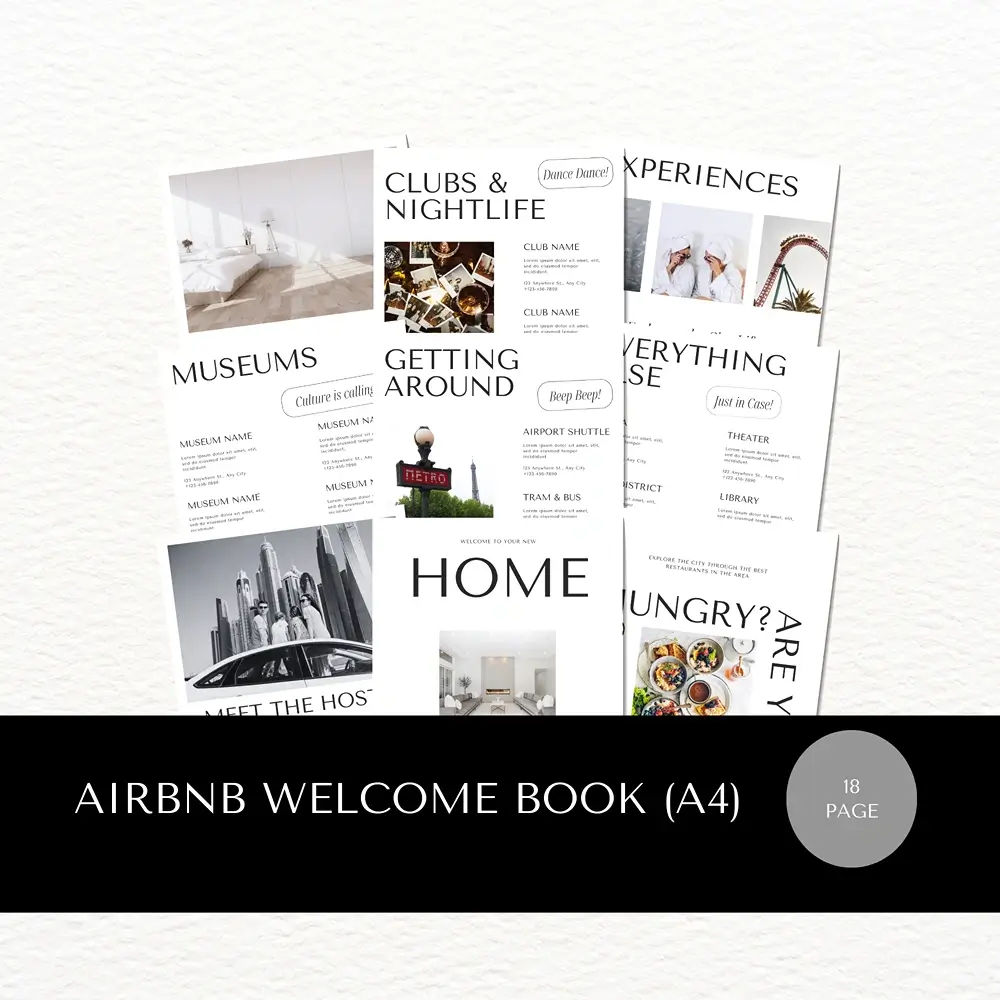
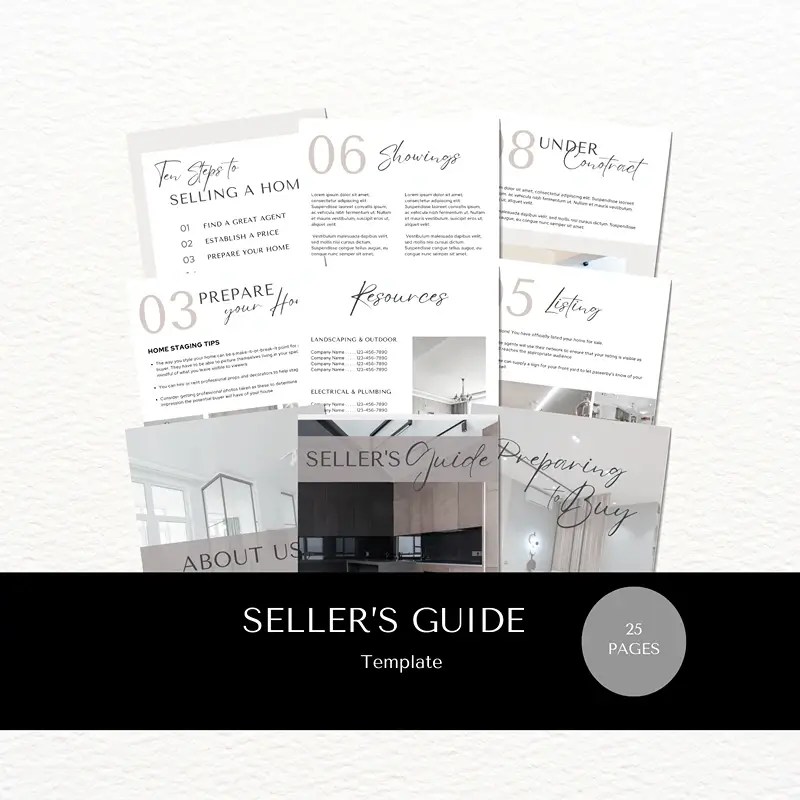
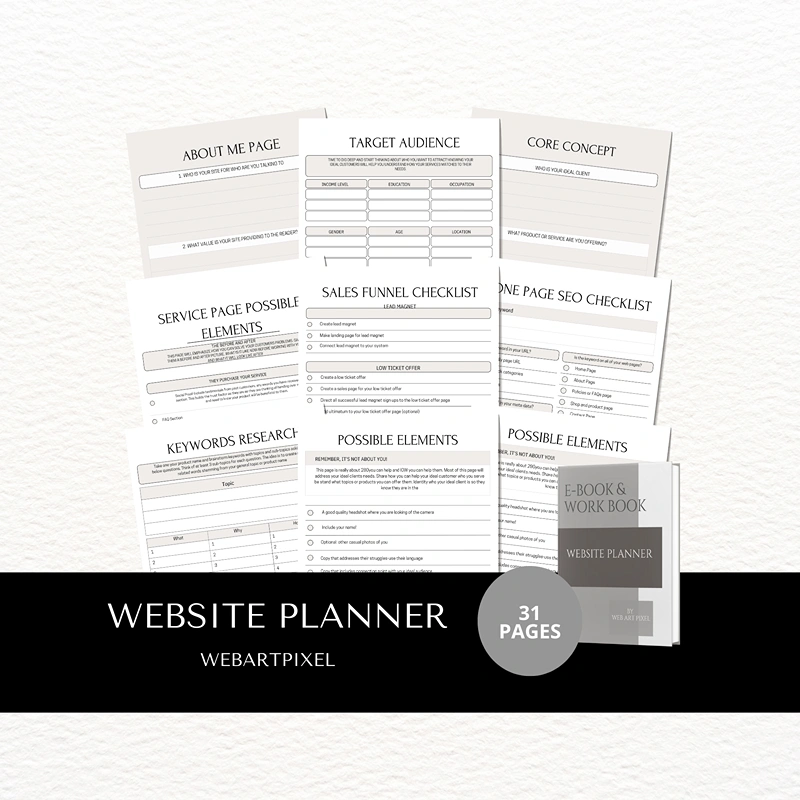
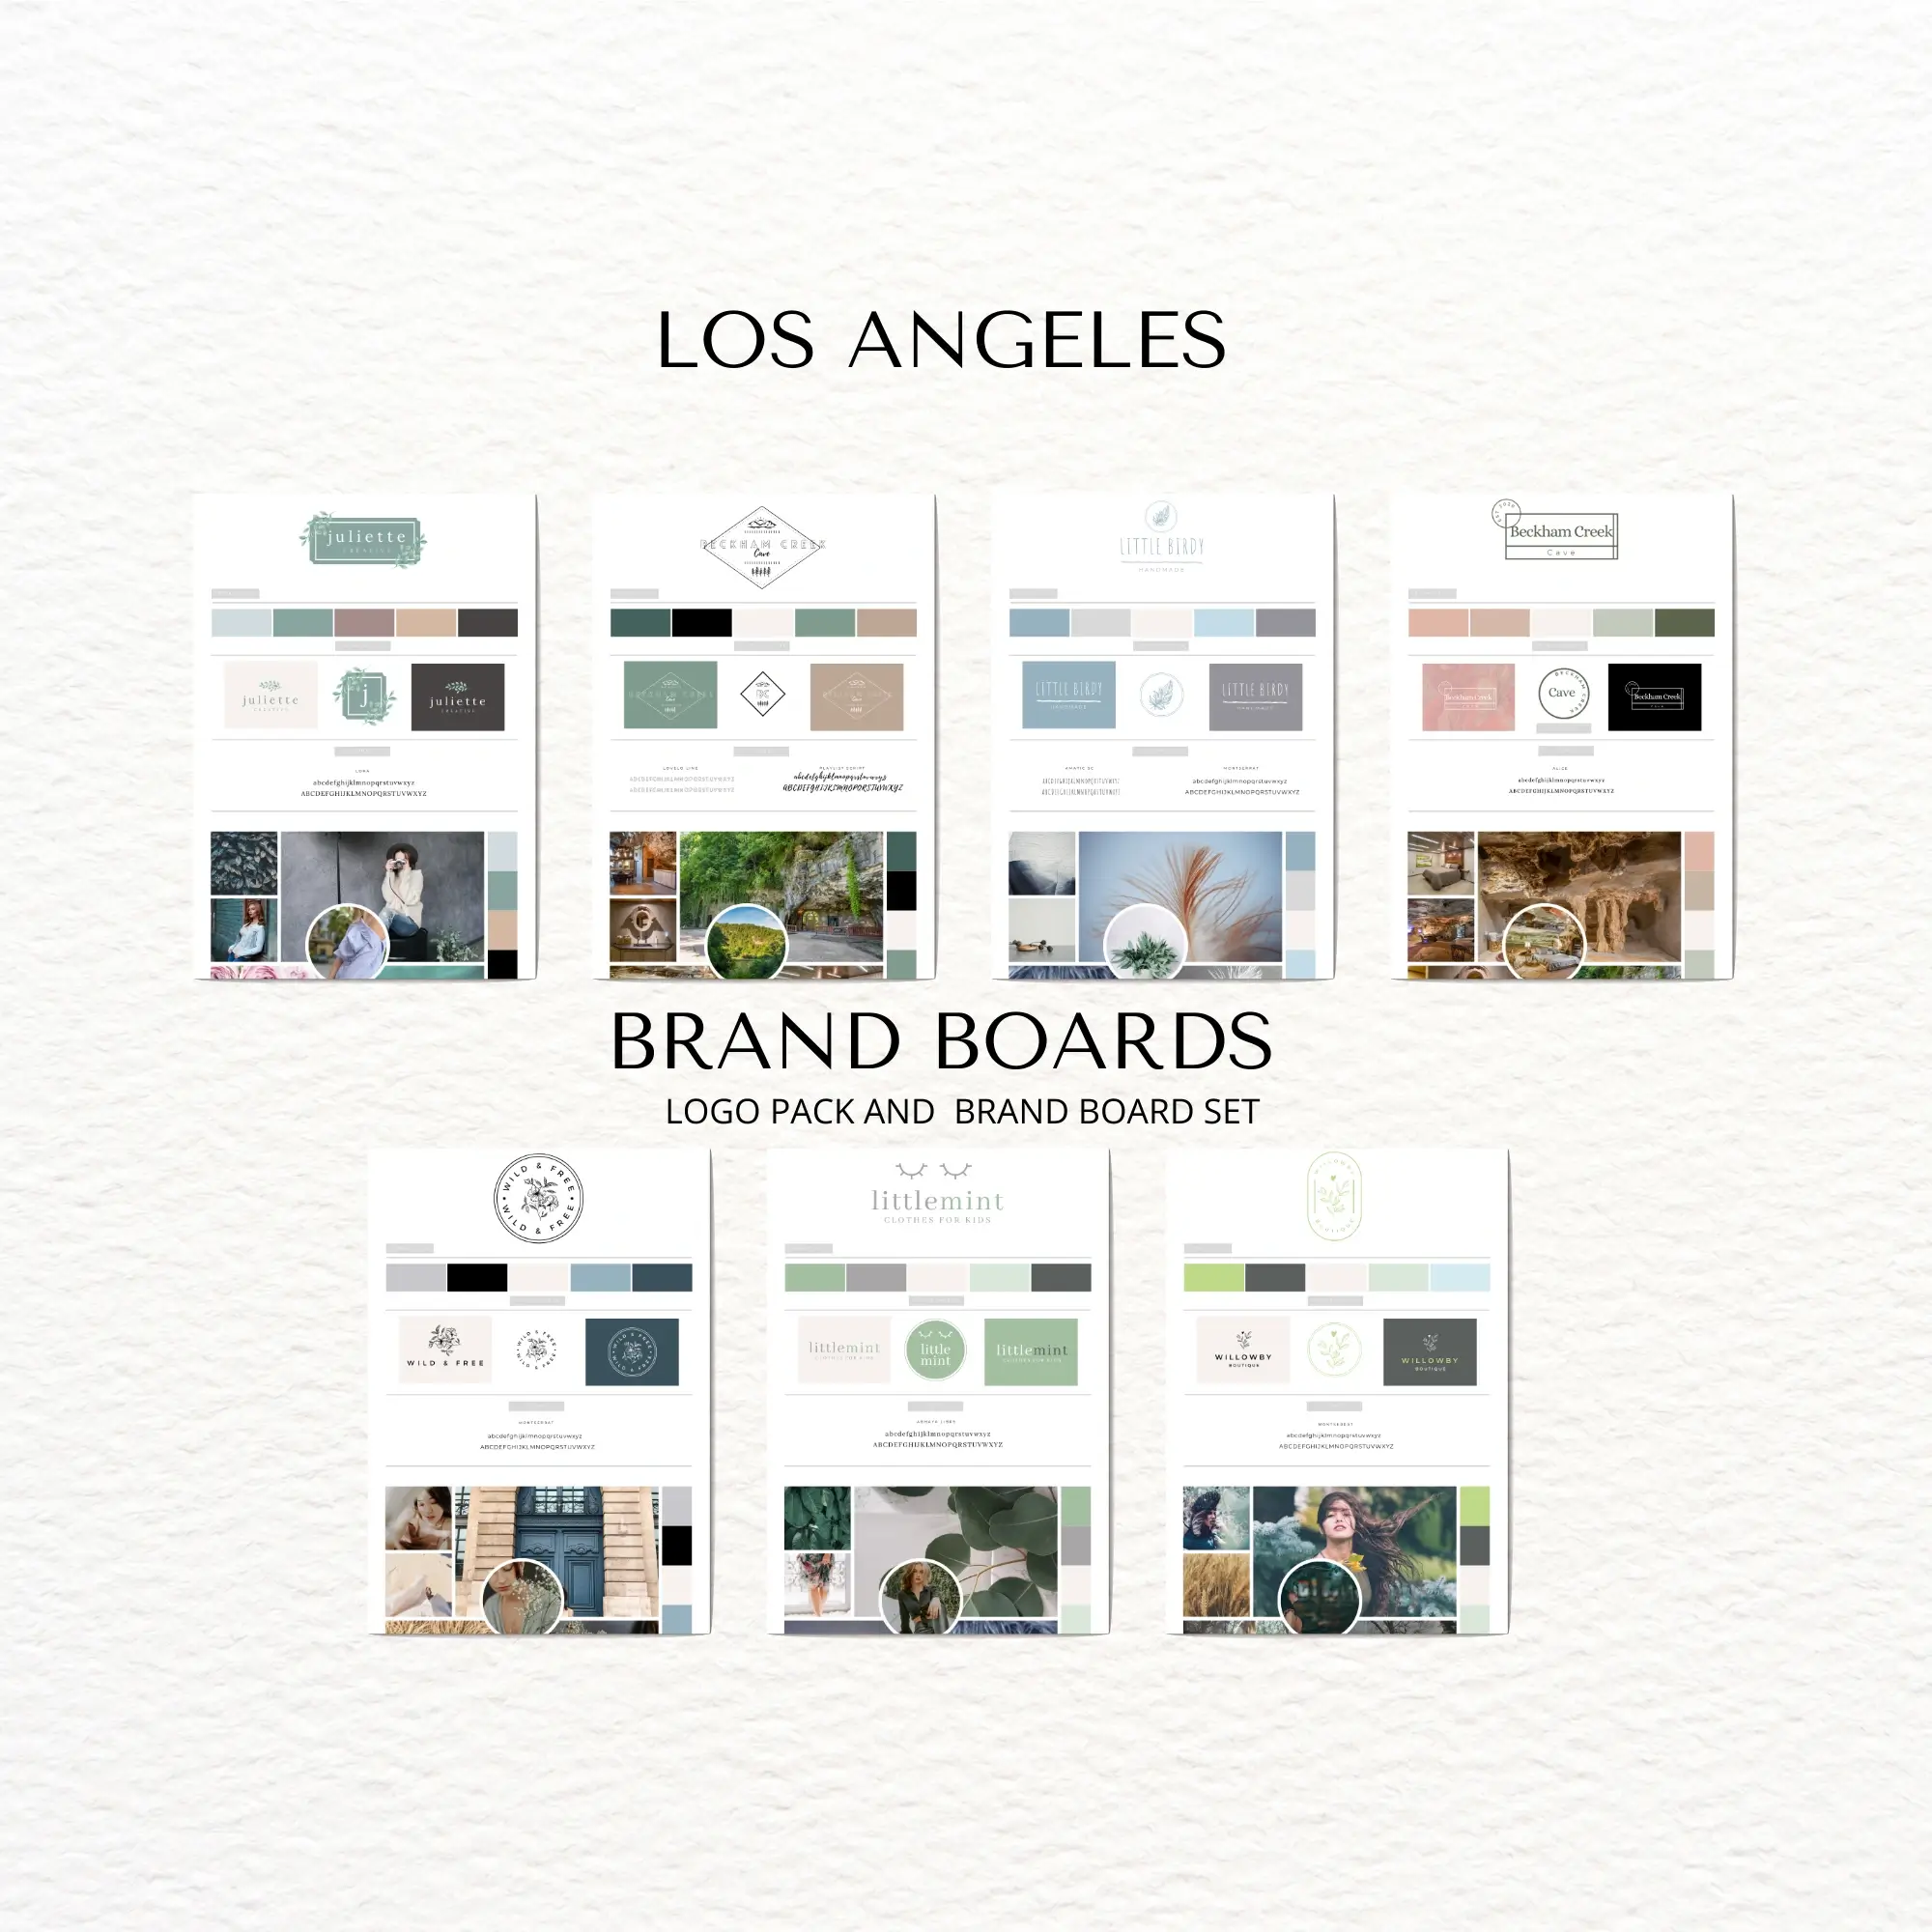
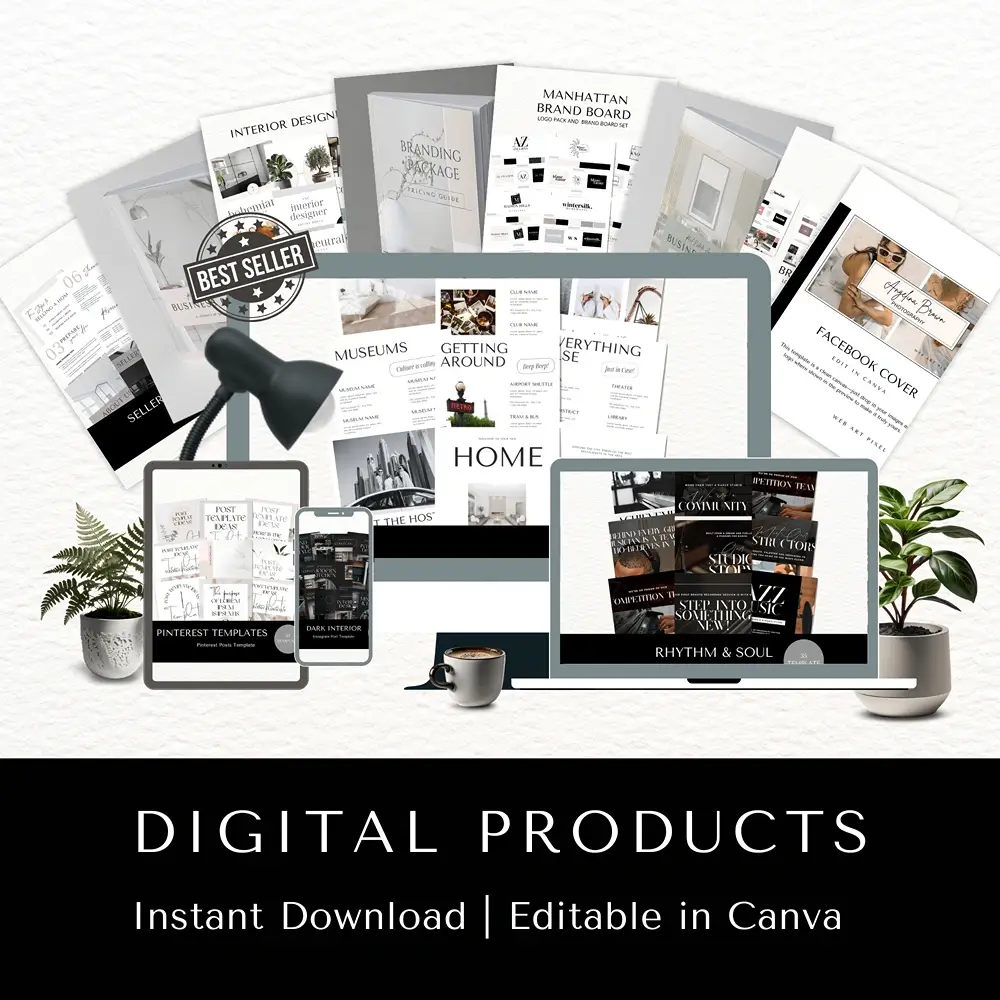
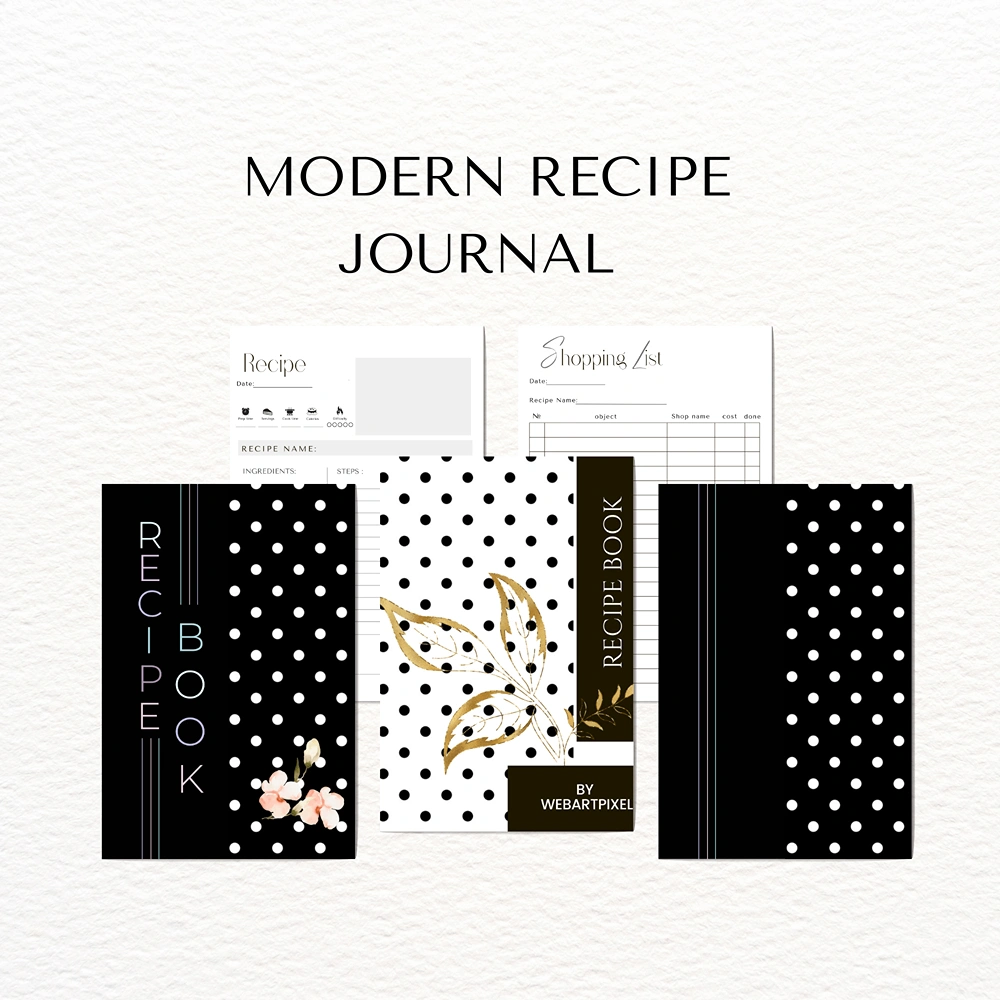
6. Creating Mockups & Previews
People buy with their eyes—so I design mockup previews to showcase what’s inside.
These images help potential buyers quickly understand what they’re getting and how it might look on screen or in print.
7. Writing the Product Description & Uploading
Now it’s time to write the actual product listing. I give it a clear, appealing name, add bullet points about what’s included, and craft a description that highlights its value.
I also take care of SEO: setting a title, meta description, and keywords so people can find the product easily.
8. Optimizing Images for Web
All product images are resized, compressed, renamed with keywords, and saved in .webp format for fast loading and better performance.
9. Final Touches: Promo Videos & Canva Mockups
To really make it shine, I create a short promo video—often using Canva—adding music, movement, and showcasing the designs dynamically.
It’s the final piece that brings everything together before the launch.
The Takeaway?
Before you ever click “download,” hours of planning, creativity, testing, and editing happen behind the scenes.
And that’s exactly why purchasing done-for-you templates can save you so much time, energy, and stress. You get professional-quality designs, ready to use—without the hours of design work.
A sneak peek into what’s next…
As a final touch, I’m currently creating a promo video using many of the handcrafted elements I designed – from elegant flower compositions to coffee cups, mini sculptures, and styled shelf décor.
These subtle additions might seem small, but they can completely transform how a product feels and is perceived. I’ll soon be offering these mockup extras in the shop as well – but for now, you’ll see how beautifully they enhance every single frame.
Because good design is in the details.